How to Enable Detection Feature on Tapo and Kasa Cameras and Doorbells
Recent updates may have expanded access to feature(s) discussed in this FAQ. Visit your product's support page, select the correct hardware version for your device, and check either the Datasheet or the firmware section for the latest improvements added to your product. Please note that product availability varies by region, and certain models may not be available in your region.
This page covers how to set up and manage detection features on Tapo and Kasa cameras and doorbells using the Tapo app, including how to set your Tapo camera to follow movement with Smart Motion Tracking. It covers different detection types including motion detection, person detection etc, as well as detection zones, motion-triggered recording and notifications, so you can understand the full scope of what's available on your device.
Key Takeaways
- Detection settings are configured through the Tapo app. Open the camera or doorbell card, go to Device Settings, and navigate to the Detection page.
- Motion Tracking can be enabled or disabled from the Detection page. Availability of this feature varies by device model.
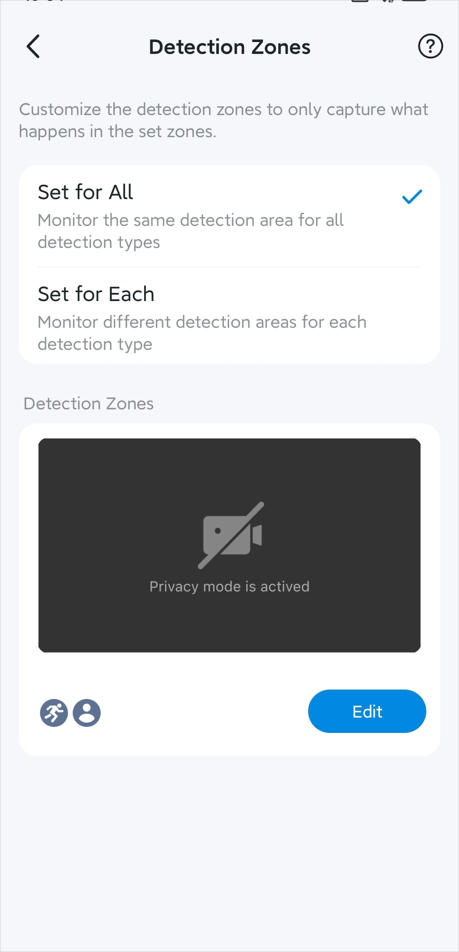
- Detection Zones let you define specific areas within the camera's field of view so it detects activity only within those zones.
- Multiple detection types are available and can be enabled or disabled individually. Supported detection types vary by device model.
- When a detection event is recorded, the clip is uploaded to the cloud if you have an active Tapo Care subscription, or saved locally to a Tapo Hub or microSD card (sold separately) when Local Recording is enabled.
- Push notifications and alarm triggers can each be enabled separately so your camera alerts you when a detection event occurs.
Steps to Enable Detection on Your Camera or Doorbell
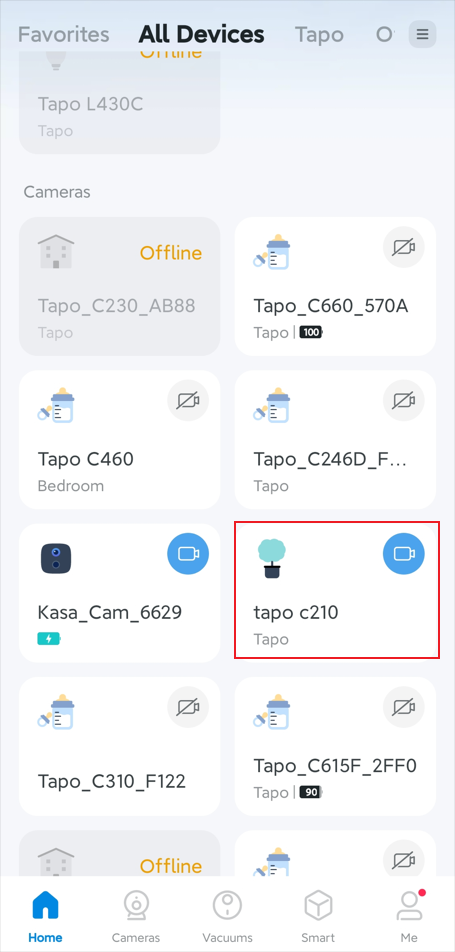
Step 1. On the Tapo app Home page, tap the camera/doorbell card to enter the Live View page.
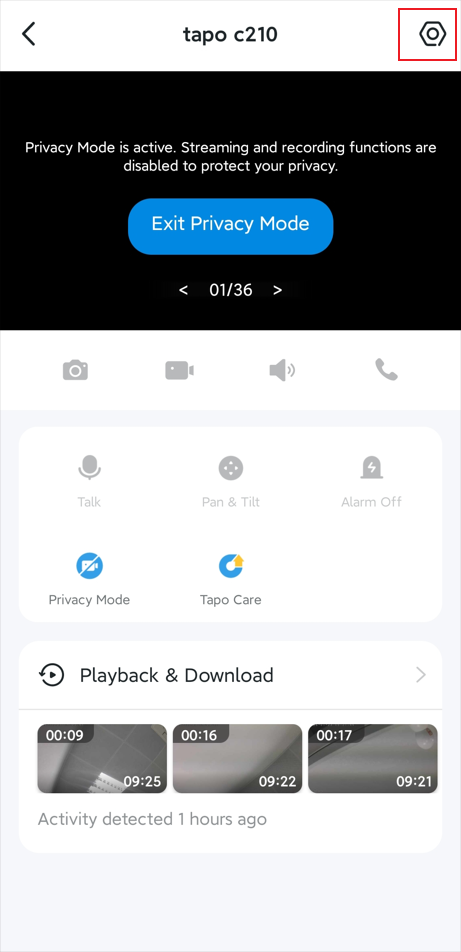
Step 2. Tap the gear icon in the top-right corner to open the Device Settings page.
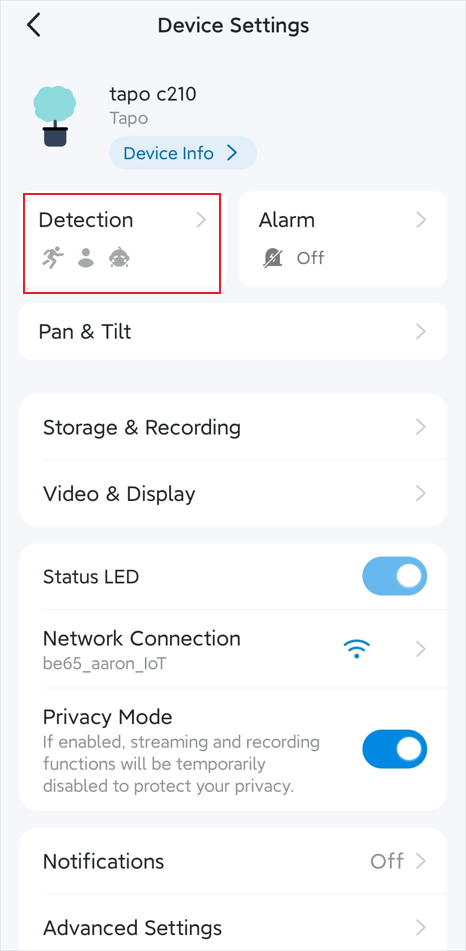
Step 3. Go to the Detection page and configure the detection settings as desired.
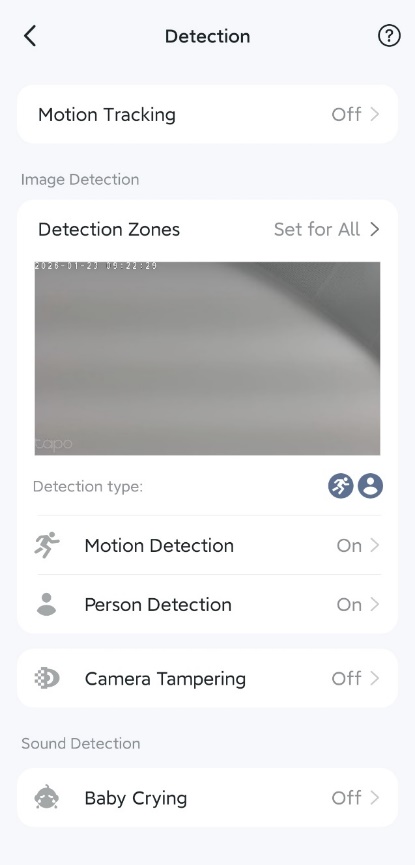
- Tap Motion Tracking to enable or disable the feature. Note that the availability of this feature may vary by model.
- Tap Detection Zones to customize the area the camera/doorbell monitors, ensuring it detects activity only within the zones you set.
- Enable or disable the desired detection types and adjust the sensitivity as needed. Supported detection types may vary by device model.
Step 4. After configuring the Detection feature, video clips of detected events will be uploaded to the cloud server if you subscribe to the Tapo Care service, or saved locally to your Tapo Hub or microSD card (sold separately) when Local Recording is enabled. Go to Tapo App > Camera/Doorbell Live View > Playback & Download page to view the detection recordings.
Step 5. Enable the notification feature if you want to receive a push notification on your phone when the camera/doorbell detects an event.
Step 6. Enable the alarm feature so the camera/doorbell triggers an alarm when it detects an event.