Умная многоцветная Wi‑Fi лампа P45
| Tapo L430P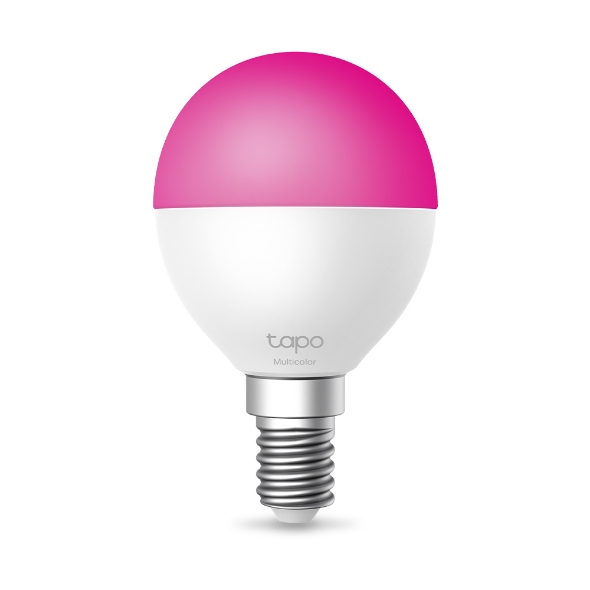
Умная многоцветная Wi‑Fi лампа P45
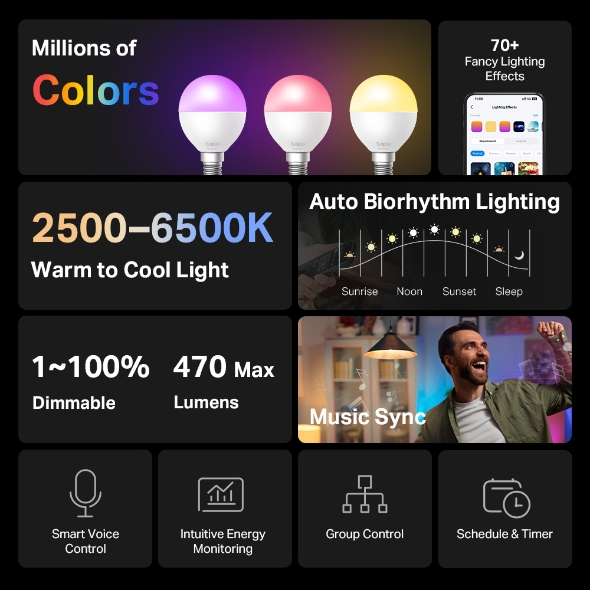
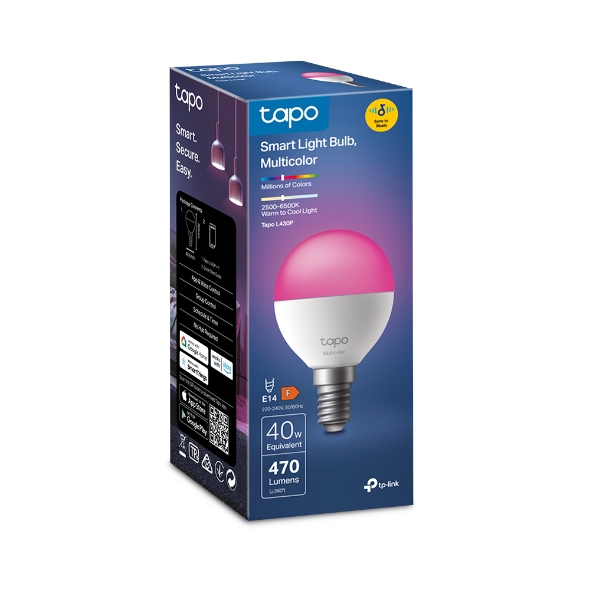
Tapo L430P- 16 миллионов цветов - Создайте потрясающую атмосферу, выбирая цвета из широкого спектра, а также регулируйте яркость до желаемого уровня для создания идеальной атмосферы.
- Регулируемый белый - Настройте цветовую температуру от 2500 K до 6500 K в зависимости от ваших потребностей.
- Сверхнизкая яркость 1% - Сверхнизкая яркость 1% (<6 лм) обеспечивает мягкое, ненавязчивое освещение, идеально подходящее для прикроватного освещения ночью.
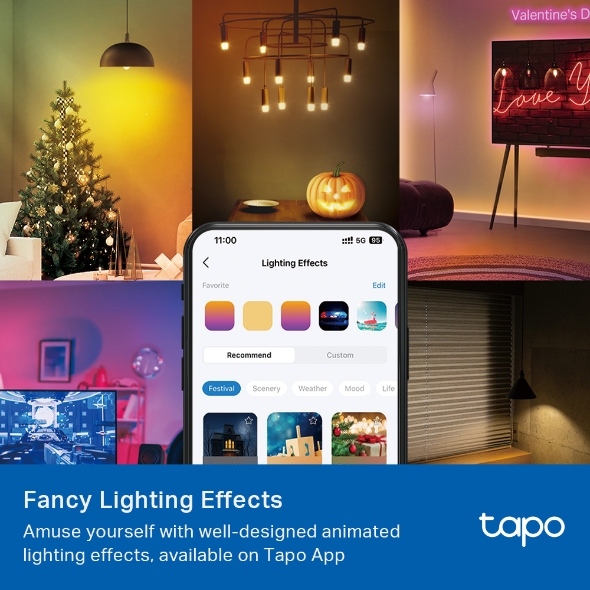
- Изысканные световые эффекты - Развлеките себя хорошо продуманными анимированными световыми эффектами, доступными в приложении Tapo.
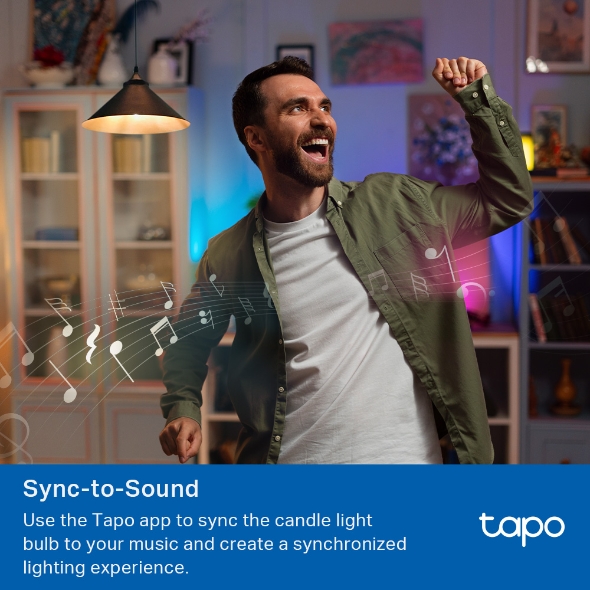
- Синхронизация со звуком - Используйте приложение Tapo для синхронизации умного светильника P45 Подстройте свет от музыки к своему устройству и создайте синхронизированное освещение.
- Автоматическое биоритмическое освещение+ - Автоматически регулирует яркость и цветовую температуру в зависимости от естественного солнечного света в вашем районе, обеспечивая наиболее подходящее освещение каждый раз, когда вы его включаете.
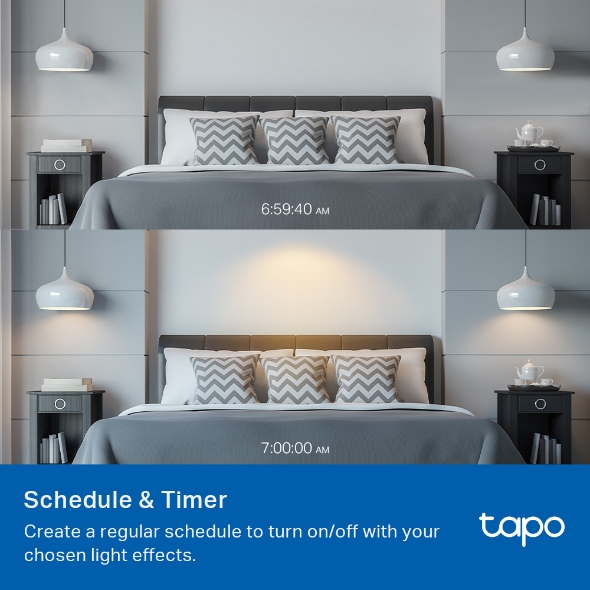
- Расписание и таймер - Создайте регулярное расписание включения/выключения света с выбранными вами световыми эффектами.
- Хаб не требуется - Подключите светильник L430P к домашней сети Wi-Fi, и все готово.
- Автоматизация восхода и заката - Автоматически включайте свет в соответствии с вашим часовым поясом. Включайте на рассвете и выключайте на закате, или наоборот.
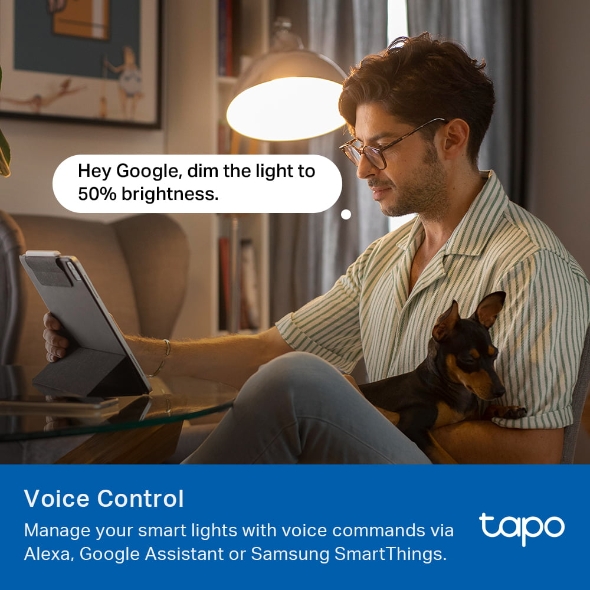
- Голосовое управление - Управляйте умными светильниками с помощью голосовых команд через Alexa, Google Assistant или Samsung SmartThings.
- Дистанционное управление и режим «Вне дома» - Мгновенно включайте/выключайте подключенные устройства, где бы вы ни находились, через приложение Tapo. Включите режим «Вне дома», чтобы имитировать присутствие кого-то дома.
- Групповое управление - Объединяйте умные светильники в группы для управления яркостью, цветом и другими параметрами, а также одновременно включайте и выключайте свет и другие устройства.
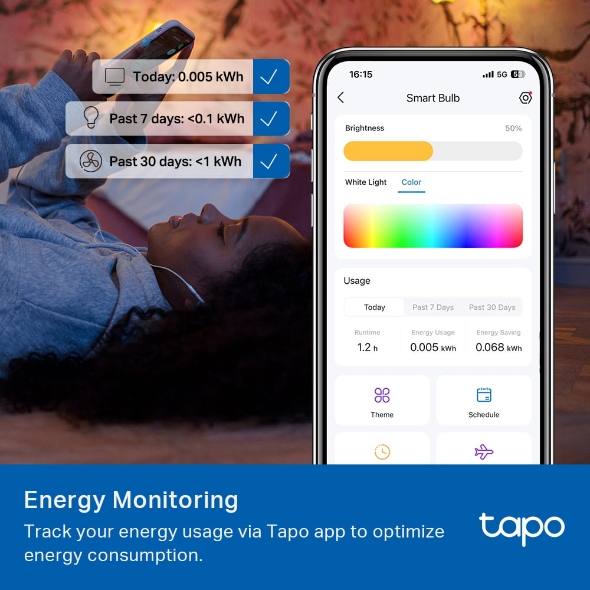
- Мониторинг энергопотребления - Отслеживайте состояние подключенных устройств. Потребление электроэнергии и затраты в режиме реального времени через приложение Tapo.
Управляйте миллионами цветов по своему желанию
Умная светодиодная лампа Tapo P45, многоцветная
Tapo L430P


Исследуйте бесконечные возможности освещения
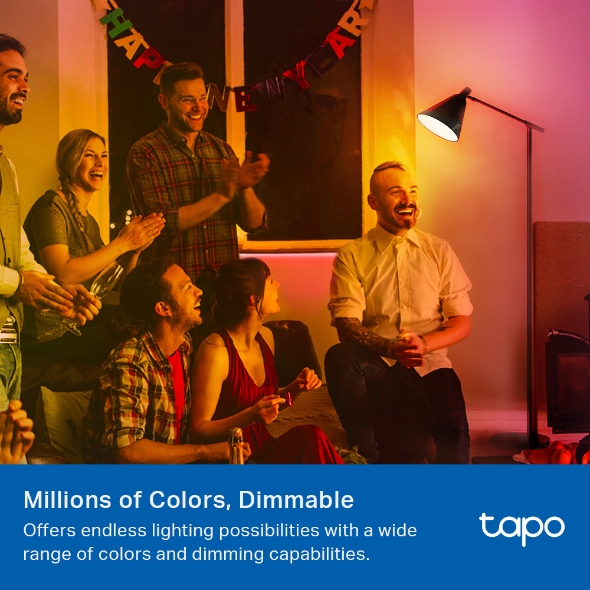
Миллионы цветов
Легко создавайте сценарии с яркими цветами для повседневных дел или особых мероприятий.
Регулировка яркости
Удобно регулируйте яркость от 1% до 100% с помощью приложения Tapo.
Яркость лампы при 1% составляет менее 6 лм. Подходит для ночного сна в качестве небольшого ночника.
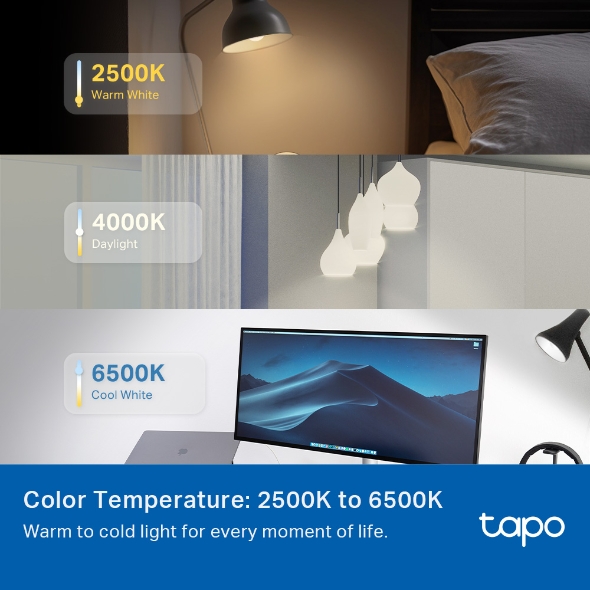
От теплого до холодного белого
Настраивайте свет на теплый белый (2500 К) для спокойного сна вечером или на холодный белый (6500 К) в рабочее время или когда нужен утренний заряд бодрости.

2500 К Теплый белый
Расслабляющий, мягкий свет. Отлично подходит для ужина и спальни.

4000 К Дневной свет
Свежий, бодрящий свет. Идеально подходит для гостиной и кухни.

6500 К Холодный белый
Бодрый, четкий свет. Подходит для рабочих помещений, учебных комнат и офисов.
Больше возможностей — больше удовольствия
Tapo L430P улавливает звучащую вокруг музыку, синхронизируясь с частотой и ритмом. Двигайтесь в такт ритму и пробуждайте все свои чувства на вечеринке!
Tapo L430P поддерживает более 70 эффектов освещения. Вы можете исследовать множество атмосферных сценариев, раскрыть свой творческий потенциал с помощью расширенной настройки и наслаждаться удобством оптимизированных модулей!
Автоматическое биоритмическое освещение
Испытайте индивидуальное освещение для каждого момента вашего дня с нашим естественным освещением. Оно имитирует путь солнца в вашем географическом местоположении, плавно регулируя яркость и цветовую температуру в соответствии с вашими повседневными предпочтениями.
зрения
настроения
сон
работоспособности
Умное управление для удобной жизни
Голосовое управление
Освободите руки, используя простые голосовые команды с Alexa, Google Assistant или Samsung SmartThings.
Удаленное управление
Управляйте своей умной лампой из любого места с помощью приложения Tapo. Регулируйте яркость, включайте/выключайте или меняйте цвета лампы удаленно одним касанием.
Расписание и таймер
Создавайте регулярные расписания и таймеры обратного отсчета для включения/выключения с заданной яркостью. Используя восход и закат в качестве триггеров для создания умных действий, свет может автоматически активироваться в соответствии с вашим часовым поясом.
Групповое управление
Объединяйте умные лампы в разных комнатах для удобного управления яркостью, цветом и другими параметрами, а также одновременно включайте и выключайте лампы и другие устройства.

Хаб не требуется
Подключите Tapo L430P к домашней сети Wi-Fi, и всё готово — не нужны дополнительные хабы или другие устройства.

Предустановки для удобства
Нашли идеальное настроение освещения для фильмов? Сохраните его как настройку, чтобы мгновенно регулировать освещение для киновечеров.

Режим «Отсутствие»
Настройте умный свет на случайное включение/выключение, создавая впечатление, что вы дома, даже когда вас нет.


Поддержка Tapo App
- 1 Скачайте бесплатное приложение
- 2 Запустите приложение
- 3 Доступ к устройству из любого места




Пошаговая инструкция по установке
-
1
 Загрузите и откройте приложение Tapo.
 -
2
 Нажмите «Плюс» (+), чтобы добавить новое устройство.
 -
3
 Найдите свое устройство и подключите его
 -
4
 Назовите устройство и выберите помещение, в которой оно находится.
 -
5
 Поздравляем! Вы завершили настройку!
Загрузки


